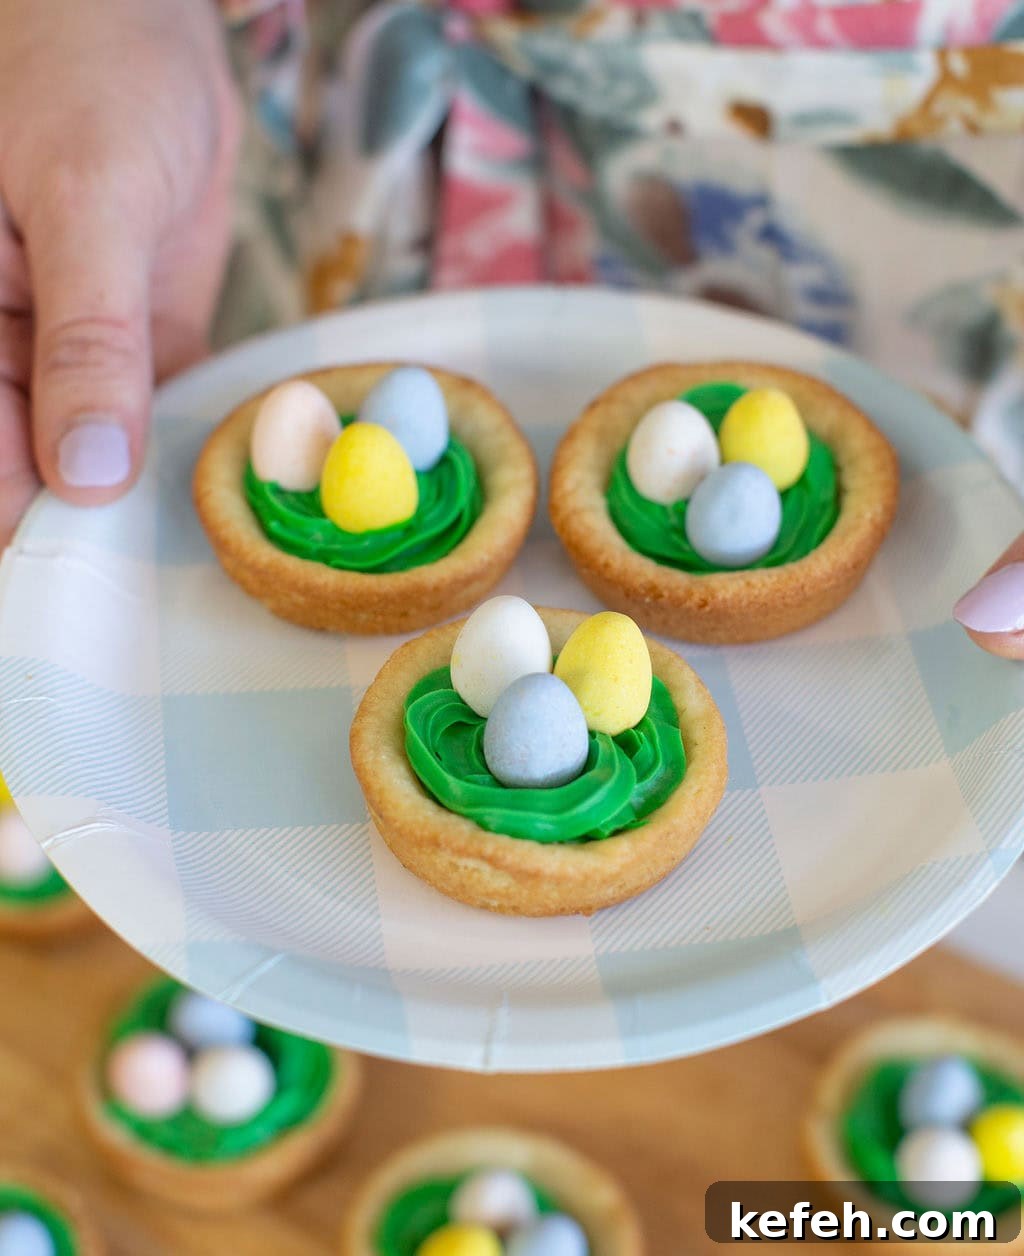
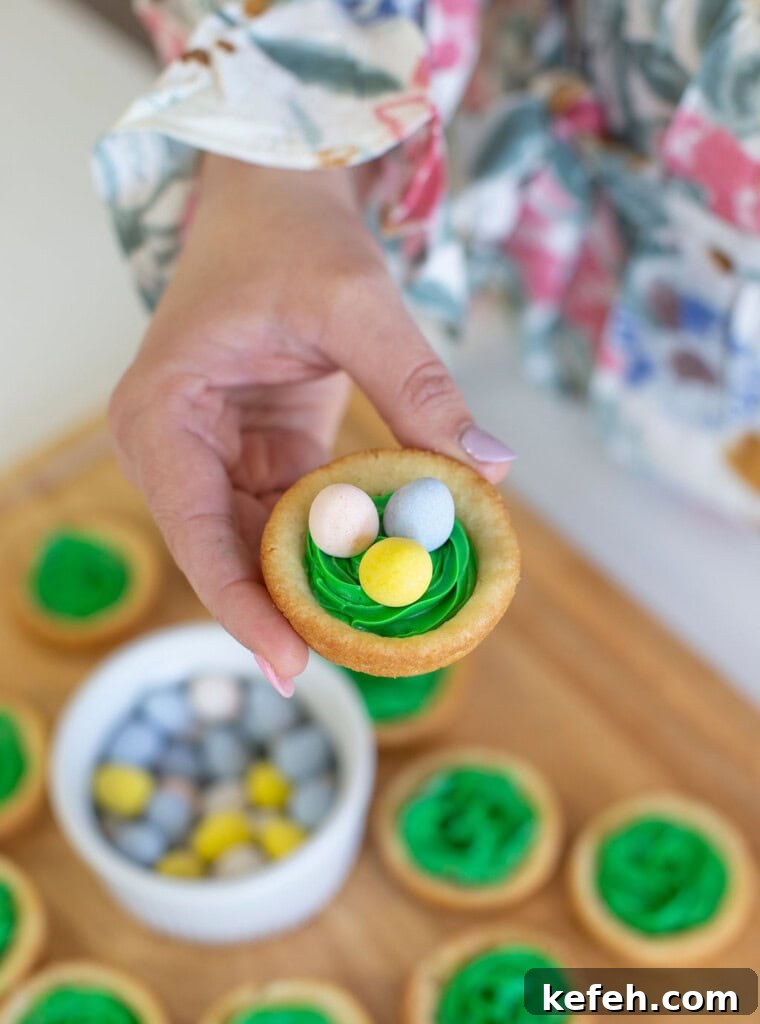
Seriously—just three ingredients: pre-made cookie dough, green frosting, and chocolate eggs—and you can make the cutest Easter Nest Cookie Cups in minutes. This quick, charming mini dessert is perfect for Easter gatherings, classroom treats, or a fun baking project with kids.
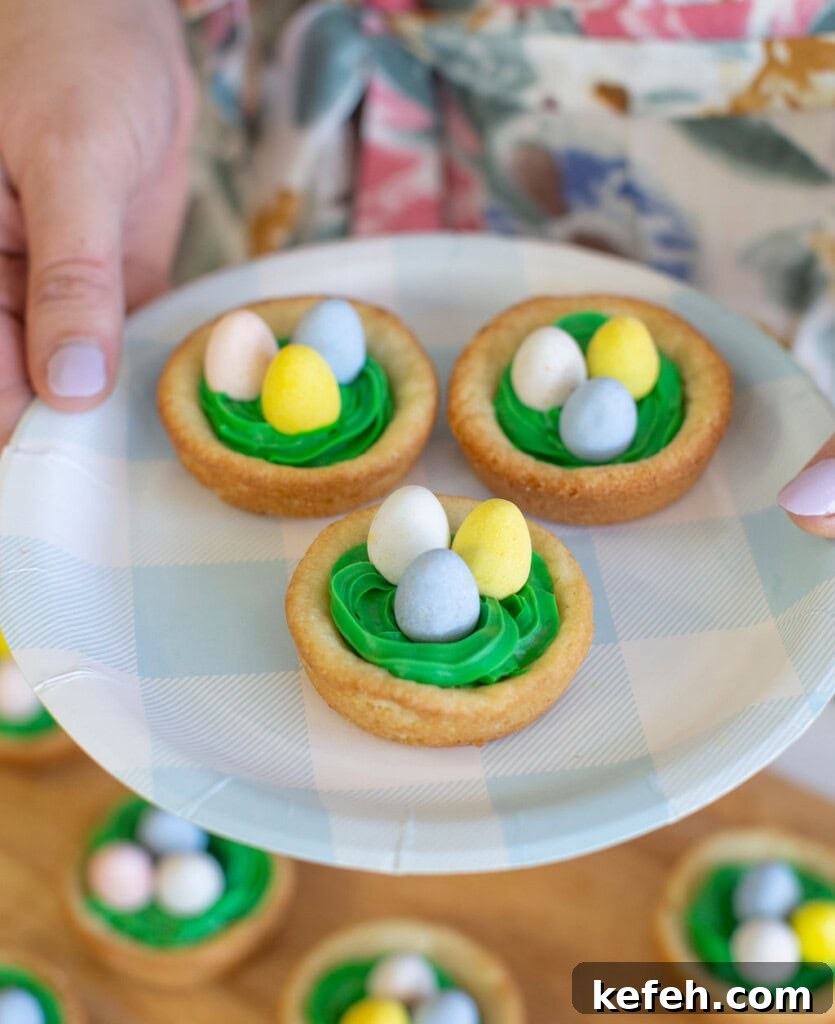
Easy Three-Ingredient Easter Dessert
This recipe leans on convenience by using store-bought cookie dough and ready-to-use decorating frosting. Bake the dough in muffin tins, press a shallow well into each warm cookie to form a cup, pipe green frosting for “grass,” and tuck three small chocolate eggs into each cup. The result looks delightful on a dessert table and takes very little time or advanced baking skill.
Only Takes Minutes to Make
From unwrapping dough to plating, you can turn out a batch in under an hour. Baking time depends on the cookie dough brand, but the decorating step is fast—especially if you use squeeze bottles or canned frosting with a star tip. These cookie cups are a great last-minute treat that still looks thoughtful and festive.
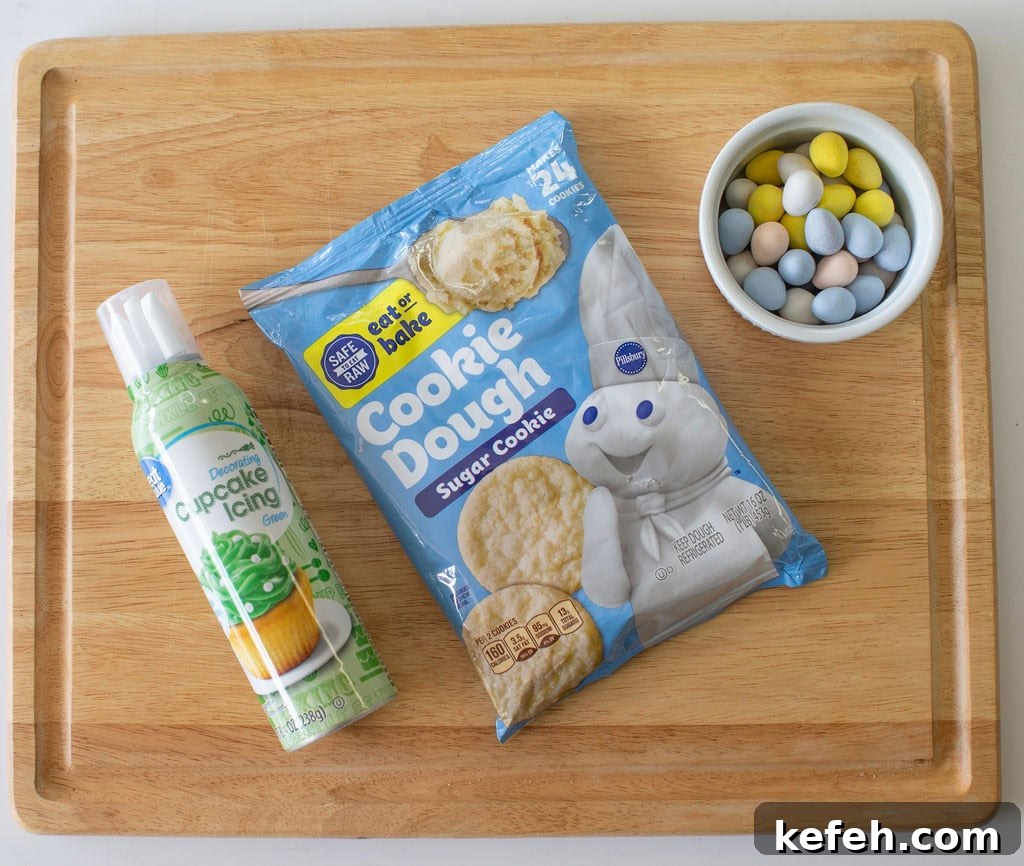
Cookie Cups: A Simple Mini Dessert Idea
Cookie cups are versatile and fun to customize. You can adapt flavors, colors, and fillings to match your celebration. For an Easter-themed twist, green frosting mimics grass and little chocolate eggs create a playful nest. These cups are ideal for parties, potlucks, or an afternoon project with kids—simple, portable, and charming.
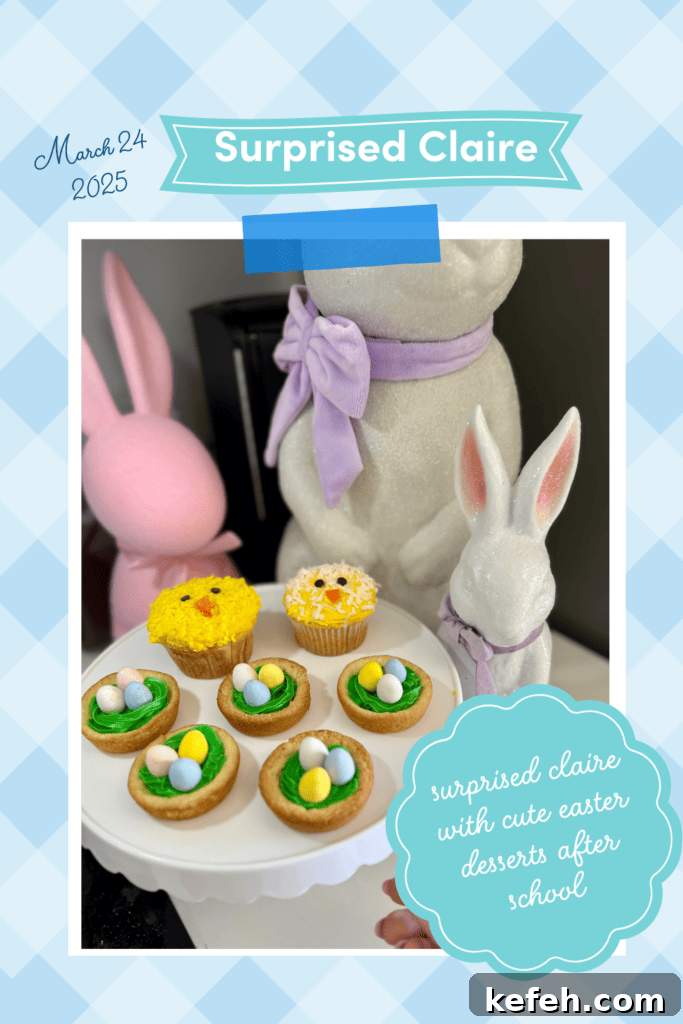
Kid-Friendly and Quick to Make
These cookie cups are very kid-friendly. Little hands can help press dough into the tins, and children love piping or squeezing frosting and placing the eggs. With a bit of supervision around the oven, the whole process becomes a fun activity that produces a treat everyone will enjoy.
How to Make Easter Cookie Cups
Start by preparing the cookie dough according to package directions and portioning it into a greased muffin tin. Bake until the edges are lightly golden. Immediately after removing from the oven, press a shot glass or small measuring cup gently into the center of each warm cookie to form a cup. Let the cookies cool enough to hold their shape before removing them from the tin. Once cooled, pipe green frosting into each cup using a star tip to create a grass-like texture. Finish by placing three small chocolate eggs in the center of each nest. Simple tips and a few small adjustments will help you achieve uniform cups and a polished look.
Ingredient Substitutions
- Cookie Dough: Any pre-made dough works—sugar cookie, chocolate chip, peanut butter, or other flavors. Keep in mind darker dough will affect the overall appearance of the nest.
- Frosting: Use canned frosting for convenience or make a simple homemade buttercream and tint it green. You can fill a disposable piping bag with a star tip for a textured grass look.
- Candy Eggs: Choose your favorite small candy eggs or chocolate mini eggs available at grocery stores during the season. You can vary size and color to match your decoration theme.
Equipment
- Two non-stick 12-count muffin tins
- One shot glass or small measuring cup to press indents
- Piping bag or squeeze bottle with a star tip (optional)
Ingredients
- 1 package (24-count) pre-made sugar cookie dough
- Green decorating frosting (two squeeze bottles or a tube of frosting)
- About 72 small chocolate candy eggs (three per cookie cup)
Instructions
- Preheat the oven to 350°F (177°C) or follow the cookie dough package directions.
- Spray two 12-count muffin pans lightly with cooking spray.
- Portion the cookie dough into each muffin cup. Press to flatten slightly so it bakes evenly into a cup shape.
- Bake according to package directions or until cookie edges are lightly golden.
- Remove from oven. While cookies are still warm, press a shot glass or small measuring cup gently into the center of each cookie to form a cup. Be careful not to press too deeply—just enough to create a cavity.
- Let the cookies cool in the pan for about 5 minutes, then loosen around the edges with a butter knife if needed and remove to a cooling rack to finish cooling completely.
- When cooled, fill each cookie cup with green frosting. Use a star tip to pipe strands of frosting that resemble grass, or spread frosting and texture it with a fork for a different look.
- Place three small chocolate eggs in the center of each frosted cup to complete the nests.
Storage Tips for Easter Cookie Cups
- Airtight container: Store finished cookie cups in an airtight container to keep cookies from going stale and frosting from drying out.
- Room temperature: These treats are best kept at room temperature. Refrigeration can make cookies firm and change the frosting texture.
- Layering: If stacking is necessary, separate layers with parchment or wax paper to protect frosting and prevent sticking.
- Freshness: For best taste and texture, enjoy within a few days. You can prepare cookie cups a day ahead and add the eggs right before serving to keep them looking fresh.
Variations and Tips
Try different cookie flavors for a new twist: chocolate cookie cups with white frosting look striking, while peanut butter dough adds a rich, nutty base. Swap green frosting for pastel colors if you prefer. For a crunchy element, sprinkle finely crushed cereal or toasted coconut over the frosting before adding the eggs. If you need a nut-free version, check ingredient labels on pre-made dough and candies.
More Easy Easter Dessert Ideas
If you enjoy these cookie cups, consider making chick-themed cupcakes, nest-style cupcakes, funfetti dips, or cinnamon roll bunnies for a varied Easter spread. All are simple, family-friendly projects that pair well with these cookie nests.
Try these adorable Easter Bird’s Nest Cookie Cups and enjoy sharing them with family and friends. They’re quick to assemble, visually delightful, and a cheerful addition to any spring celebration.